"Friendship is born at the moment when one person says to another, 'What! You too? I thought I was the only one'."
Showing posts with label dessert. Show all posts

Sunday, May 29, 2011

Joyeux Kitchen: Toasted Coconut Marshmallows

We love Memorial Day weekend!  It's a bonus day to have Daddy home and a great excuse to get together with family and barbecue.  These homemade marshmallows are a perfect, albeit unconventional, take on tomorrow's dessert, or you could use them as little going-away treats for visiting friends and family.  If you've never made marshmallow from scratch, you're missing out!  It's easy!   

You'll need:
  • 7 oz toasted coconut
  • 3 packages unflavored (Knox) gelatin
  • 1 1/2 cups granulated sugar
  • 1 cup light corn syrup
  • 1/4 tsp kosher salt
  • 1 tbsp pure vanilla extract
  • powdered sugar for rolling/dusting
Start your mallows by combining the gelatin and 1/2 cup cold water in the bowl of your electric mixer fitted with the whisk attachment, and allow this to sit while you make the syrup. 

For the syrup, combine the sugar, corn syrup, salt, and 1/2 cup water in a small sauce pan and cook over medium heat until the sugar dissolves. Raise the heat to high and cook until the syrup reaches 240 degrees F on a candy thermometer.  Remove from heat. 

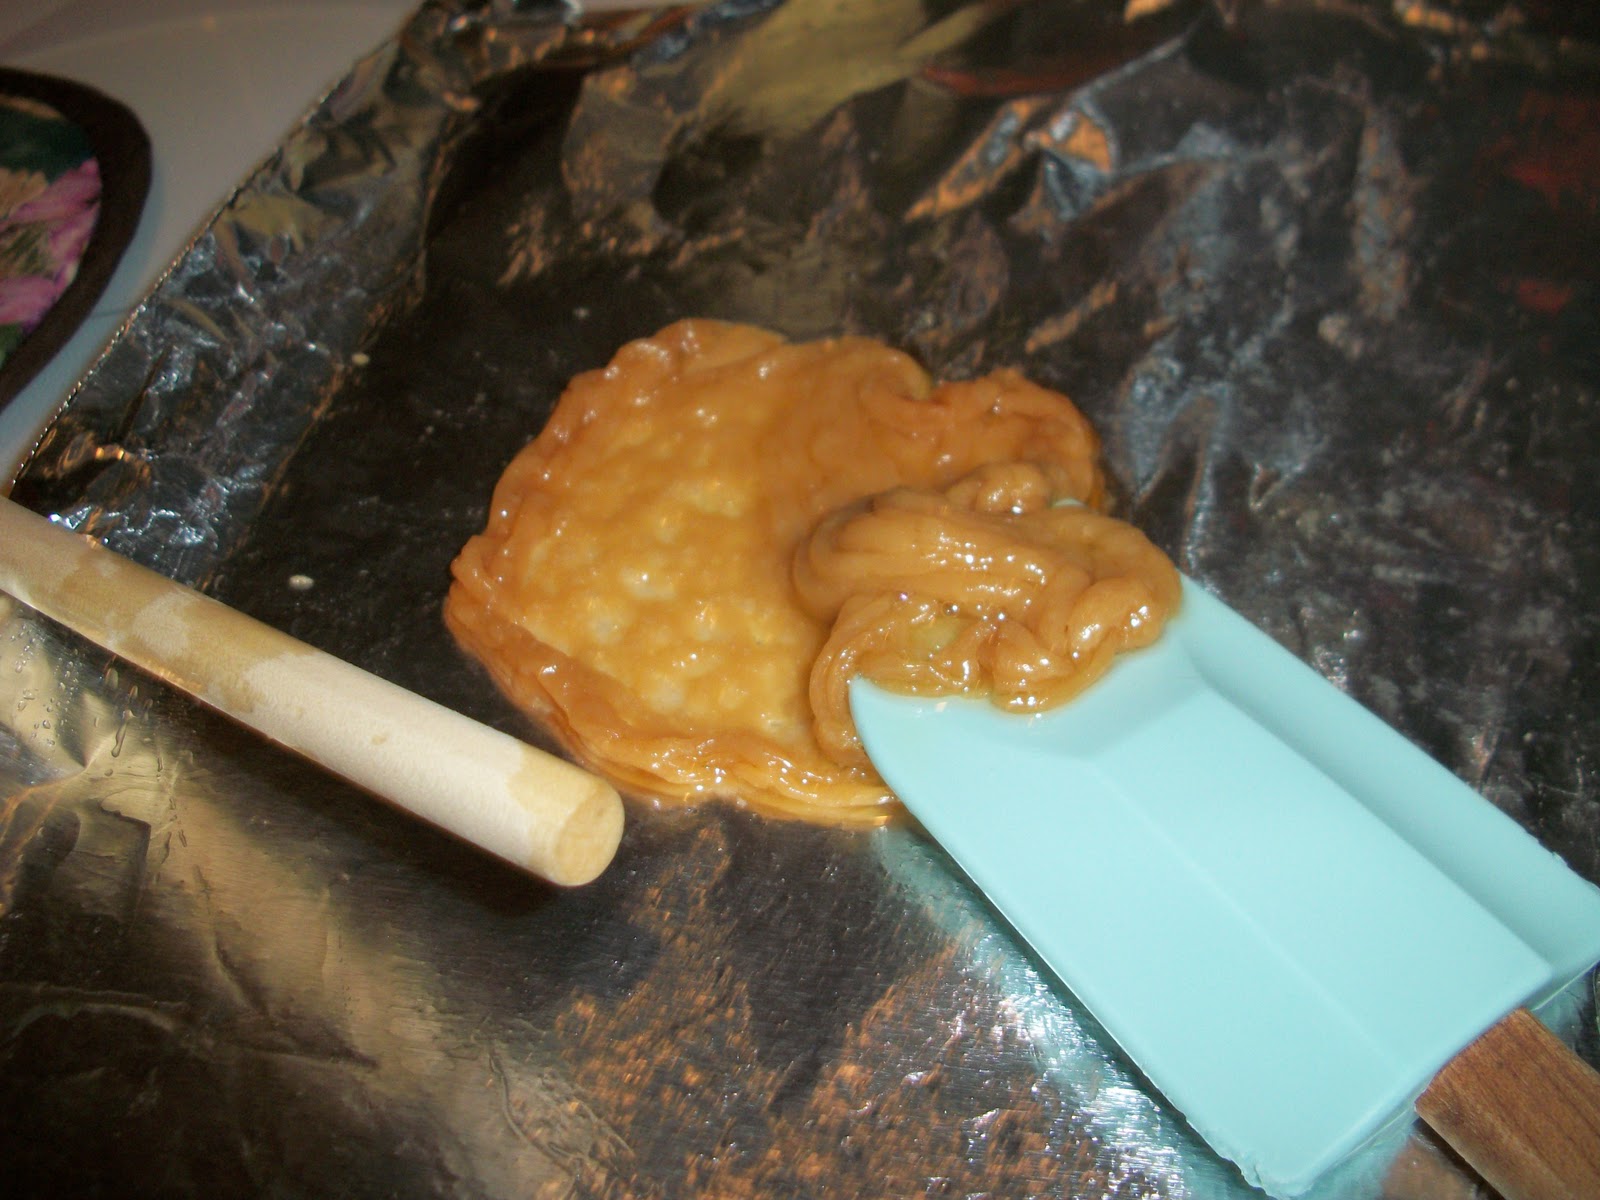
With the mixer on low speed, slowly pour the sugar syrup into the dissolved gelatin.  Put the mixer on high and whip until the mixture is very thick, about 15 minutes.  Add the vanilla and mix thoroughly on medium for another minute, scraping the bowl as necessary.

Sprinkle half the toasted coconut (How To Toast Coconut Tutorial) in the bottom of a 9 by 13 glass dish,  Pour in the marshmallow batter and smooth the top of the mixture with damp hands.  Sprinkle on the remaining toasted coconut.  Allow to dry overnight, uncovered at room temperature.


Remove the marshmallows from the pan and cut into squares.  Roll the cut sides of each piece carefully in powdered sugar.  Store uncovered at room temperature.  (I'll post a picture of this step in the morning!) 

I can't wait to try them toasted over the firepit!  YUM!

Original recipe from Ina Garten.


Sunday, April 10, 2011

Multipurpose Chicks


It was a Cake Pop kinda weekend.  These are Bakerella's Spring Chickens (click here for detailed directions), originally designed for an Easter theme, revamped for Chicks Night Out/Patty's Dirty Thirty birthday celebration.  Instead of a boxed cake mix and canned frosting, this time I used my FAVORITE chocolate cake recipe: Beatty's Chocolate Cake from Ina Garten on the Food Network.  (I know I know, you guys must be just about Food-Networked out by now.)  I've made that cake so many times I could probably do it from memory--it was perfect for the pops, I used all the cake and 3/4 of the frosting.  (The rest is in the fridge, taunting me...I'm guessing it won't make it past breakfast tomorrow.)

These were a fun project, lots of opportunities to get creative with the chicks. :)


(Naked chicks.)


(The birthday chick.)
--tiara courtesy crafty Lindsay--


(Party chicks!!)


Sunday, March 6, 2011

Joyeux Kitchen: White Chocolate Raspberry Cheesecake


White Chocolate Raspberry Cheesecake

Doug's not a big fan of traditional birthday desserts, so I have to think outside the box for his cakes.  This year's selection may very well become every year's selection.  He LOVED it.  I have a few recipe notes and recommendations:
  • As usual, use a good quality chocolate (I used Ghirardelli).  The cheap stuff will disappoint--no WOW factor.
  • It's going to feel like you're not putting in enough sugar.  And when you taste the batter, you might still feel an inclination to add more.  DON'T.  It's perfect.  It bakes up light and not overpoweringly sweet and delicious with the fruit.
  • I used raspberries and blackberries, which was super yummy, because raspberries were just so darn expensive and the blackberries were a little cheaper. 
  • Serve with strawberry sauce.  Puree two cups of strawberries and two tablespoons of sugar, pour it into a fine mesh strainer to get rid of excess juice, and store in the fridge.
♪♪ Happy birthday, Mr. Donovan ... happy birthday to yoooouuuuu. ♪♪


Tuesday, March 1, 2011

Meeska Mooska Mickey Mouse!

Carter was all about Mickey Mouse Clubhouse when he turned one in July. We hosted a backyard BBQ with lots of fun decorations and food...


I made the invites using the Cricut Mickey and Friends cartridge and two circle punches. I also downloaded a Mickey font for the inside info.


Amazing Mickey cake made by Sarah!


Specifically planned this party in the AM so we could have Mickey mimosas (a fabulous idea from a friend)! I found a small Mickey cookie cutter for a couple bucks on eBay and used it to cut Mickey out of cantaloupe to add to the mimosa glasses. I also used the cutter for fruity pebble treats (pictured below). Sarah created the deliciously adorable cupcakes...great to have a friend who bakes!


I framed an invite and placed it on a plate stand on the table along with a stuffed Mickey, sunflowers, and the mickey-shaped fruity pebble treats. Some of my bright Fiesta pieces came in handy for the color scheme.


This party was so colorful. What fun! I went with Mickey-themed supplies for the kids' table, but was able to purchase bright reds, yellows, and blues for extra plates, napkins, balloons, etc. Solids are much cheaper and more practical for future use.


I had saved this HUGE Disney store shopping bag (because I knew it would come in handy someday) and used it to decorate the play area with some multi-colored balloons. The sandbox was a birthday gift for Carter.


I made this banner that matched the invites for Carter's high chair.


The birthday boy with his banner & cake. I made the Mickey balloons behind him for the guests to take home. What a blast! I definitely suggest a Mickey (or Minnie) party if you have a young one. Look for great ideas on Disney.com and Disney Family too.


Sunday, February 6, 2011

Joyeux Kitchen: Cookie Dough Cupcakes


Amanda-from-kevinandamanda.com's Chocolate Chip Cookie Dough Cupcakes

Lindsay requested these for her birthday.  They looked like a bit of a project and October was a wild month around here, so they got shelved for another date (don't worry, she got somethin' REAL nice--Peanut Butter Cheesecake Bites).  Super Bowl Sunday seemed like the perfect excuse to dust off the recipe!

I've been called a lot of things in my day...patient is not one of them.  I like my food and I like it NOW.  For instance, I've never pickled anything because you have to wait sooooo looooong to enjoy the fruits of your labor, and I'm just not built like that.  So when I saw that this recipe really takes two days to finish up and eat, I immediately disregarded the overnight step with a casual "Pssssh, I don't need to freeze that dough, it'll be fine, and this way I can eat it TONIGHT!"  This instant gratification is very American of me, I understand that.  Fortunately this time my impatience was in tune with my baker's instincts--no need to freeze the balls, although I might try it that way someday when I have more time on my hands.

The only other alteration I made to the recipe was probably unnecessary and definitely excessive: I subbed heavy cream for the milk in the frosting.  It was good.  SO good.  In fact, the girls are eating bowls of it right now (because it irks me when I make gourmet cupcakes and they lick the frosting off and throw the rest away, darn kids, no appreciation for the finer things in life, don't they know starving kids in Africa would KILL for these cupcakes!....).  Anyway, just giving them bowls of frosting has resolved my frustration on the matter.

These are amazing--thank you Amanda!--and your Super Bowl guests will be clamoring for the recipe.

Bon appetit, friends.  xo
Side note, post-baking second batch:  This recipe says it makes 24 cupcakes, but both times, for me, it made at least 30.  Also, the second time around, I did freeze the balls.  It extends the cooking time a little bit because the middle is so cold, it keeps the dough from baking evenly.  Just watch them really close and pull them out when the tops get nice and golden.  One more thing: the cookie dough ball recipe makes enough balls for two batches of the cupcakes.  Roll up the rest of the balls and stick 'em in the freezer for next time!

Monday, January 24, 2011

Joyeux Kitchen: Brownie Pudding


Barefoot Contessa's Brownie Pudding

Ahhhhh-mazing.  I made it without the framboise (note to self: Google framboise) and ate it hot, even though it says to serve after allowing it to cool.  It was obscenely good while hot.  Another great thing about this dessert is that you probably have everything you need to make it without a trip to the store (well, maybe not everyone keeps vanilla beans lying around... if you don't, the cheapest place to get them is Costco--a two pack of tubes with 6 beans or so in each tube is $11ish).  Also, I didn't have a 2 quart casserole dish but it worked just fine in my 2 1/2 quart.  Enjoy!

Sunday, December 12, 2010

The Recipe That Got The Best Of Me


(Above: What they're supposed to look like!  Romantic and whimsical, eh?)

And now a reality check.

The recipe looked innocent enough.  No candy thermometer required, melt a few ingredients together with butter, stir in flour and powdered ginger, and voila!  ...  Yeah right.

Still going well at this point.

This is where it gets hairy.  The recipe says "Grease the foiled cookie sheets well" but doesn't specify what to grease them with.  I guessed shortening... and I was wrong....

...so wrong.  This is the moment I knew things had gone awry.

At this point, after baking, they're supposed to slide easily onto the spatula and then neatly fold around the end of a wooden spoon to form a cone. HA! BA-HA!  Wild maniacal laughter.

Sad, pathetic, inedible. [cursing under my breath in the kitchen how could you fail me Paula????]

Still determined, (I hate to fail--control issues much?) I tried greasing the foil with butter instead.  Yes, this must solve everything.


Ah [expletive] what gives?  How can butter not be the answer to a Paula Deen problem???  Angry mumbling ensues. 

Nope.  Sure 'nuf.  Butter--definitely not the answer.

The results of my next try--greasing the foil with nonstick cooking spray.  Doh.  I am really mad at this point.

Paula, 1.  Sarah, 0.
I hate wasting ingredients, but I was tempted to try it again just to prove a point.  It was 9 o'clock at night, I was presumably making these for a party the next day, I was fuming mad and not a glass of wine in sight.  So I sighed and admitted defeat.  If anyone has any idea how I could have salvaged these...where I went wrong...I'd love your insights.  What a f-ing fiasco waste of butter and my valuable time great learning experience.  :)


Friday, December 10, 2010

Joyeux Kitchen: MY OH MY Espresso Cakes


Sunny Anderson's Espresso Cakes With Peanut Butter Frosting

These are amazing.  I'm just going to link to the recipe, I made no alterations whatsoever--can't mess with perfection.  I had a little trouble finding the espresso powder but spotted it on the coffee aisle in a little jar; the brand is Medaglia D'Oro with a green lid.  I don't think regular instant coffee would do the trick for intense flavor, but if you try it let me know how it works out.  I doubled the frosting because I'm a frosting-aholic ("Hello, My Name Is Sarah And I'm Addicted To ButterCream").  Also, the recipe calls for four mini-loaf pans.  For me it made four mini-loafs plus seven cupcakes.  You should make these now.  Go.  Do it.  Really.